This Western Digital My Passport external hard drive came to me from a client that had tried another data recovery company first. He had sent it out to one of the big data recovery companies and received a quote of $2500 for the recovery. These multi-thousand dollar quotes are not unusual in the recovery industry, I hear from clients all the time about these high quotes.
While the family photos on the drive were worth that much to them, they decided to see if they could find a better price for the recovery as $2500 was not in the budget. They had found us after calling their local computer repair shop to see if they could recommend anybody else besides the big recovery company they had already tried. The shop told them about us, so they got the drive back from the big recovery company and gave us a call to discuss their hard drive issue.
They reported that the drive had just stopped working and was no longer showing up on their computer. They described that they could hear the drive spin up, but it didn’t seem to make any other noises. I told them about my affordable pricing tiers for recovery, and they were very pleased to drop it off.


Diagnosing the My Passport Drive
Once I had the drive I was able to start the data recovery diagnosis. I opened the hard drive up in my cleanroom environment and inspected the platters and the head assembly. No media damage was present, and the heads appeared to be perfect. It is important to always conduct the inspection with a microscope as damage to heads can not be visible with the naked eye.
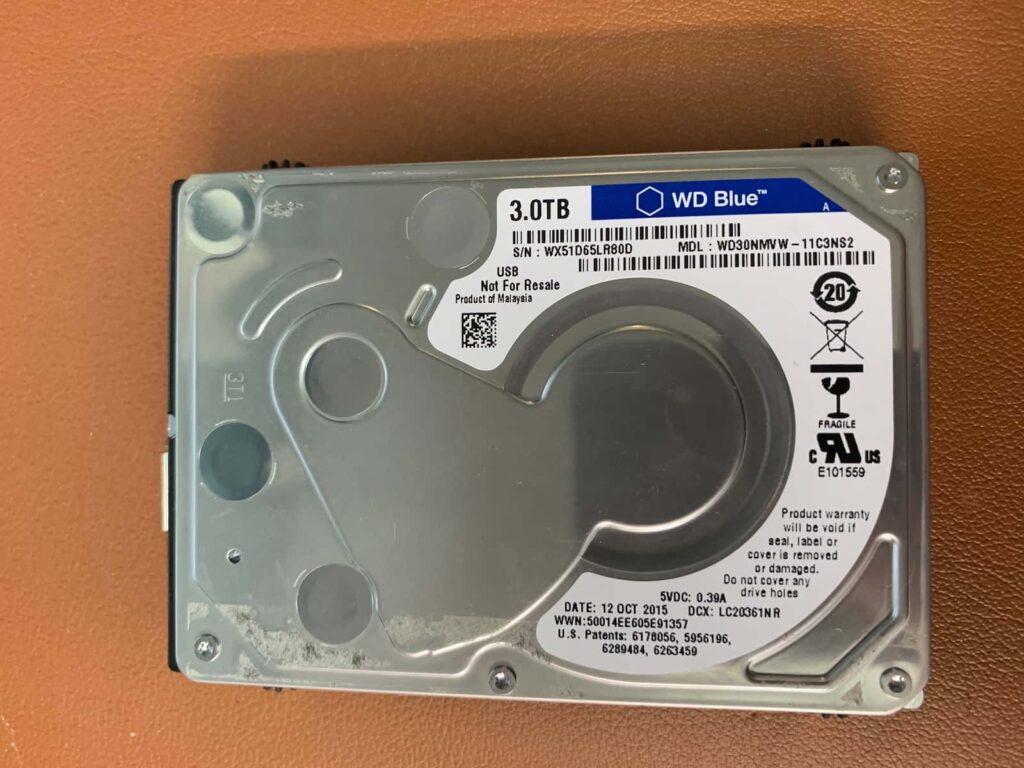
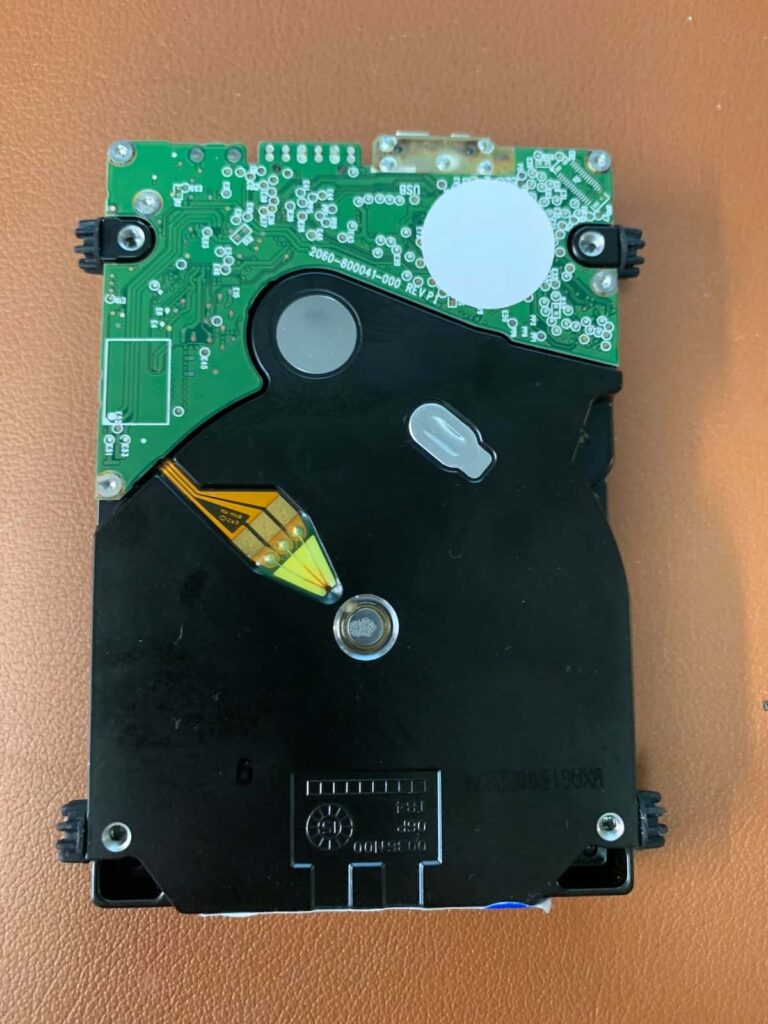
This particular model drive came from inside a My Passport for Mac external enclosure. Western Digital (along with most of the hard drive manufacturers) has started to put a USB connection directly onto the hard drive instead of a standard SATA connection. One of the first steps to be able to work effectively on the firmware for this drive is to replace the USB printed circuit board with a SATA board.
In order to do that, I need an unlocked PCB. I didn’t have the exact one I needed available (it was in use on another drive recovery project), so I ordered another donor board and waited the 3 days it took to arrive.
PCB Swap and Module 32 Clearing
Once the donor PCB board arrived, I transferred the physical ROM chip and swapped the boards. Now that the drive had a standard SATA connection I continued the recovery process by checking the firmware on the drive.
With WD drives it is always a good idea to check module 32 as it commonly becomes corrupted and causes the drive to not get ready properly. After reading the module I saw that it was indeed corrupted. Once that module was cleared, I set the sector size to 4096 and started the imaging process.
The imaging process went really well. The idea with imaging is to clone the failed drive onto a good drive so you can continue with the software side of recovery safely. During the first pass there were some bad sectors, but not too many. I was able to get 99.9999% of the sectors imaged from the drive after a few passes.
Once the imaging was complete, I moved over to my recovery software and got the full folder structure and file names of the data. All the files the customer wanted were intact and fully working.
Affordable My Passport Data Recovery Service
This recovery was covered under our Standard+ recovery fee. This means the client saved at least $2100 by going with us instead of the big recovery company for their My Passport data recovery. The client was extremely pleased with the results and with the price of the recovery.
If you need a data recovery because your drive is not working properly, please contact me with any questions you have, or fill out my quick recovery form to get the process started. I only charge if I am successful in recovering your data.
Thanks for reading!
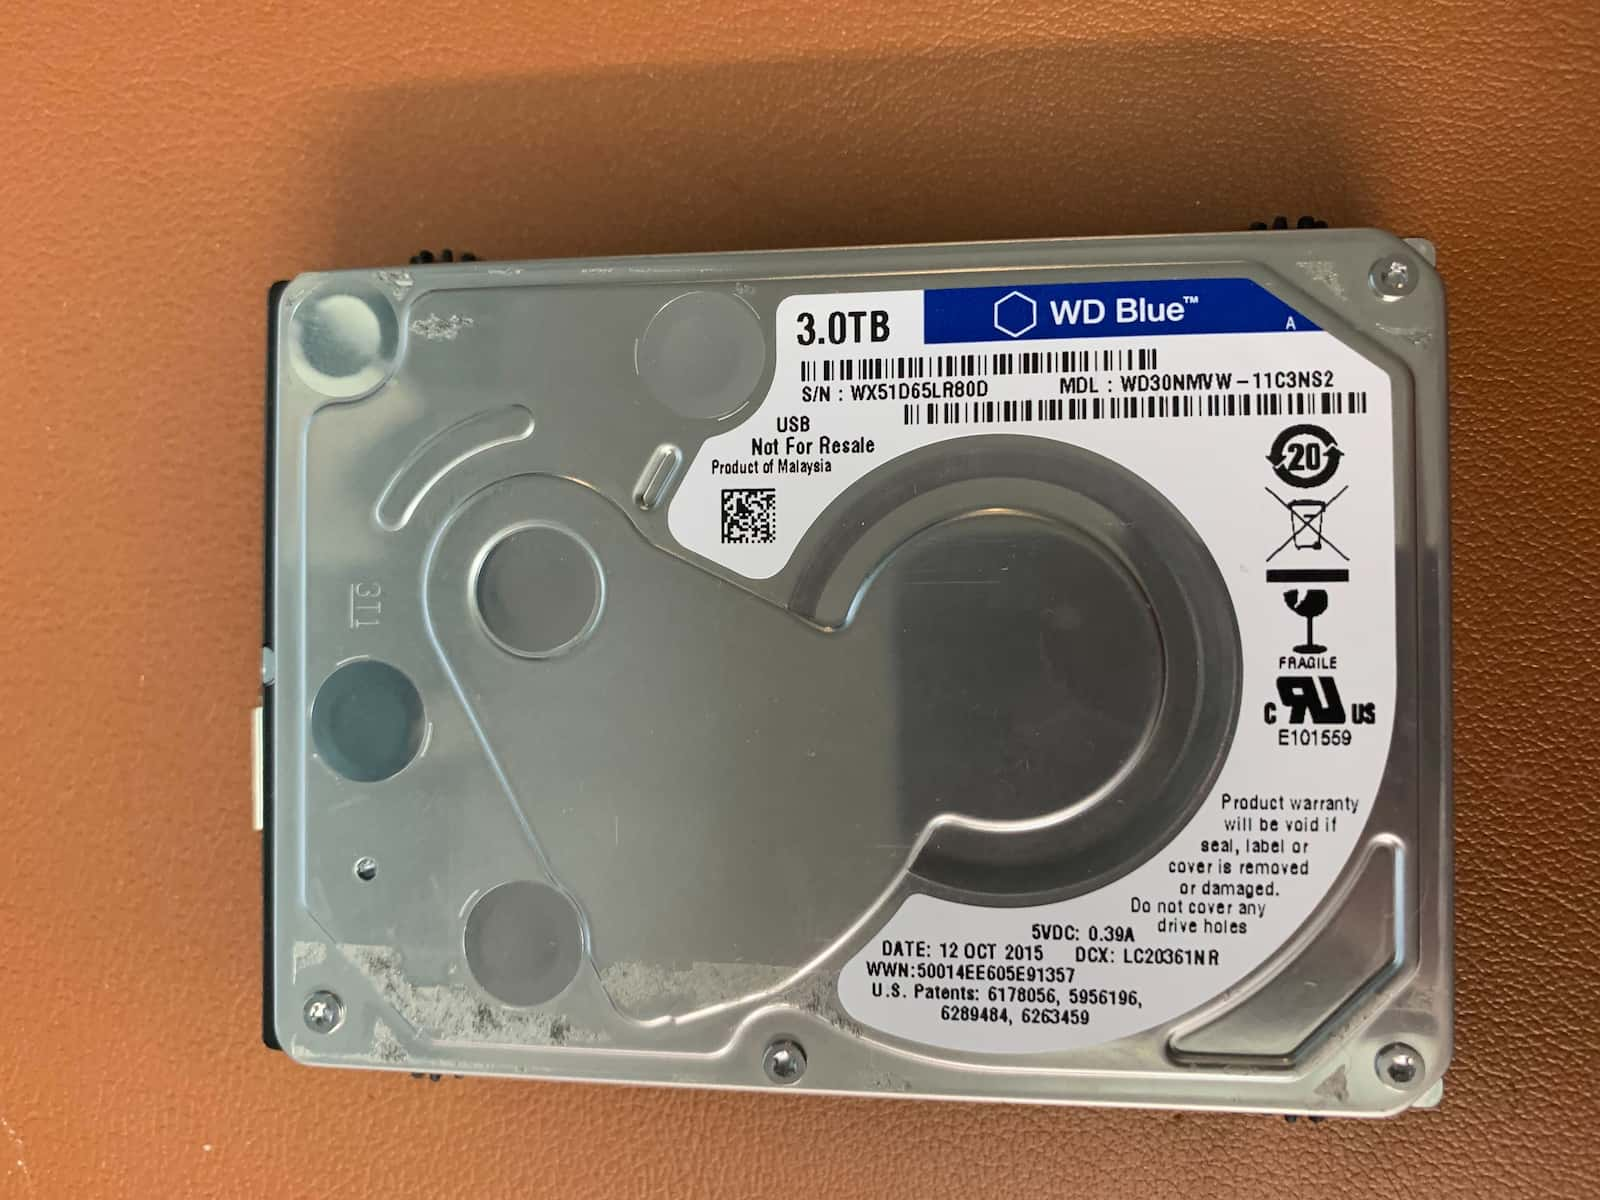
Drive info: 3TB WD Blue, MDL: WD30NMVW-11C3NS2, DATE: 12 OCT 2015, DCX: LC20361NR, WWN: 50014EE605E91357, Product of Malaysia

