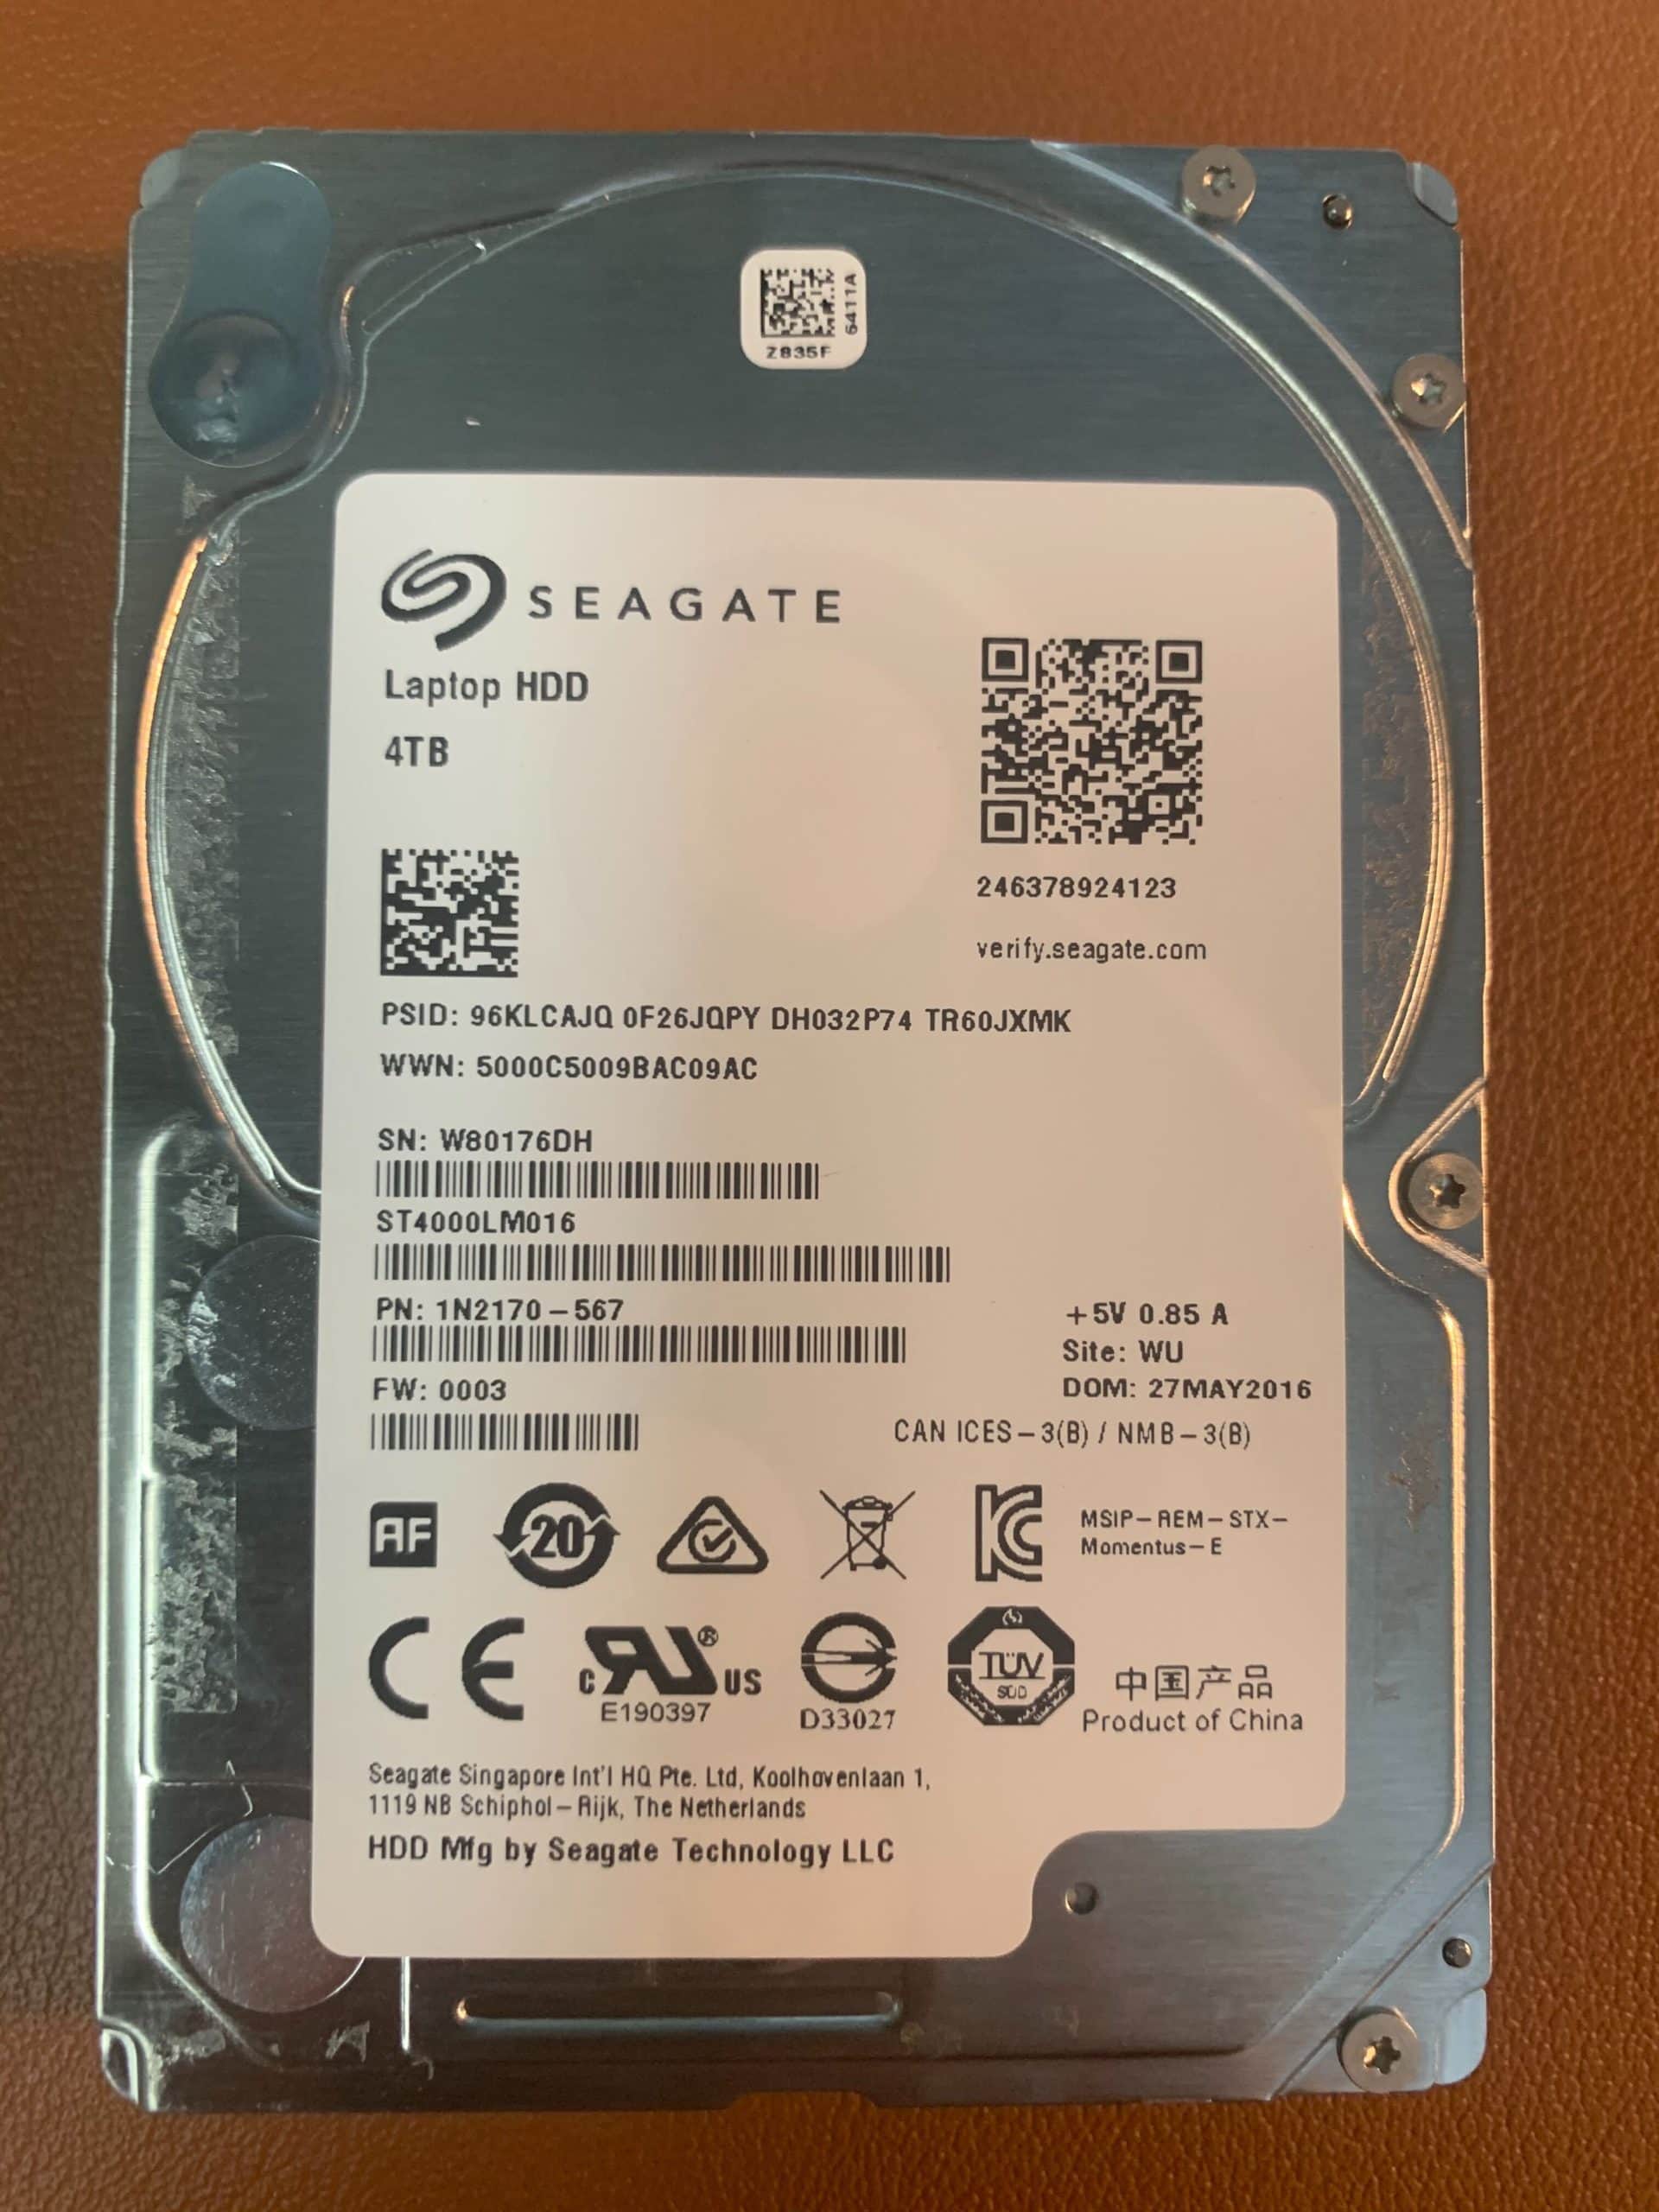
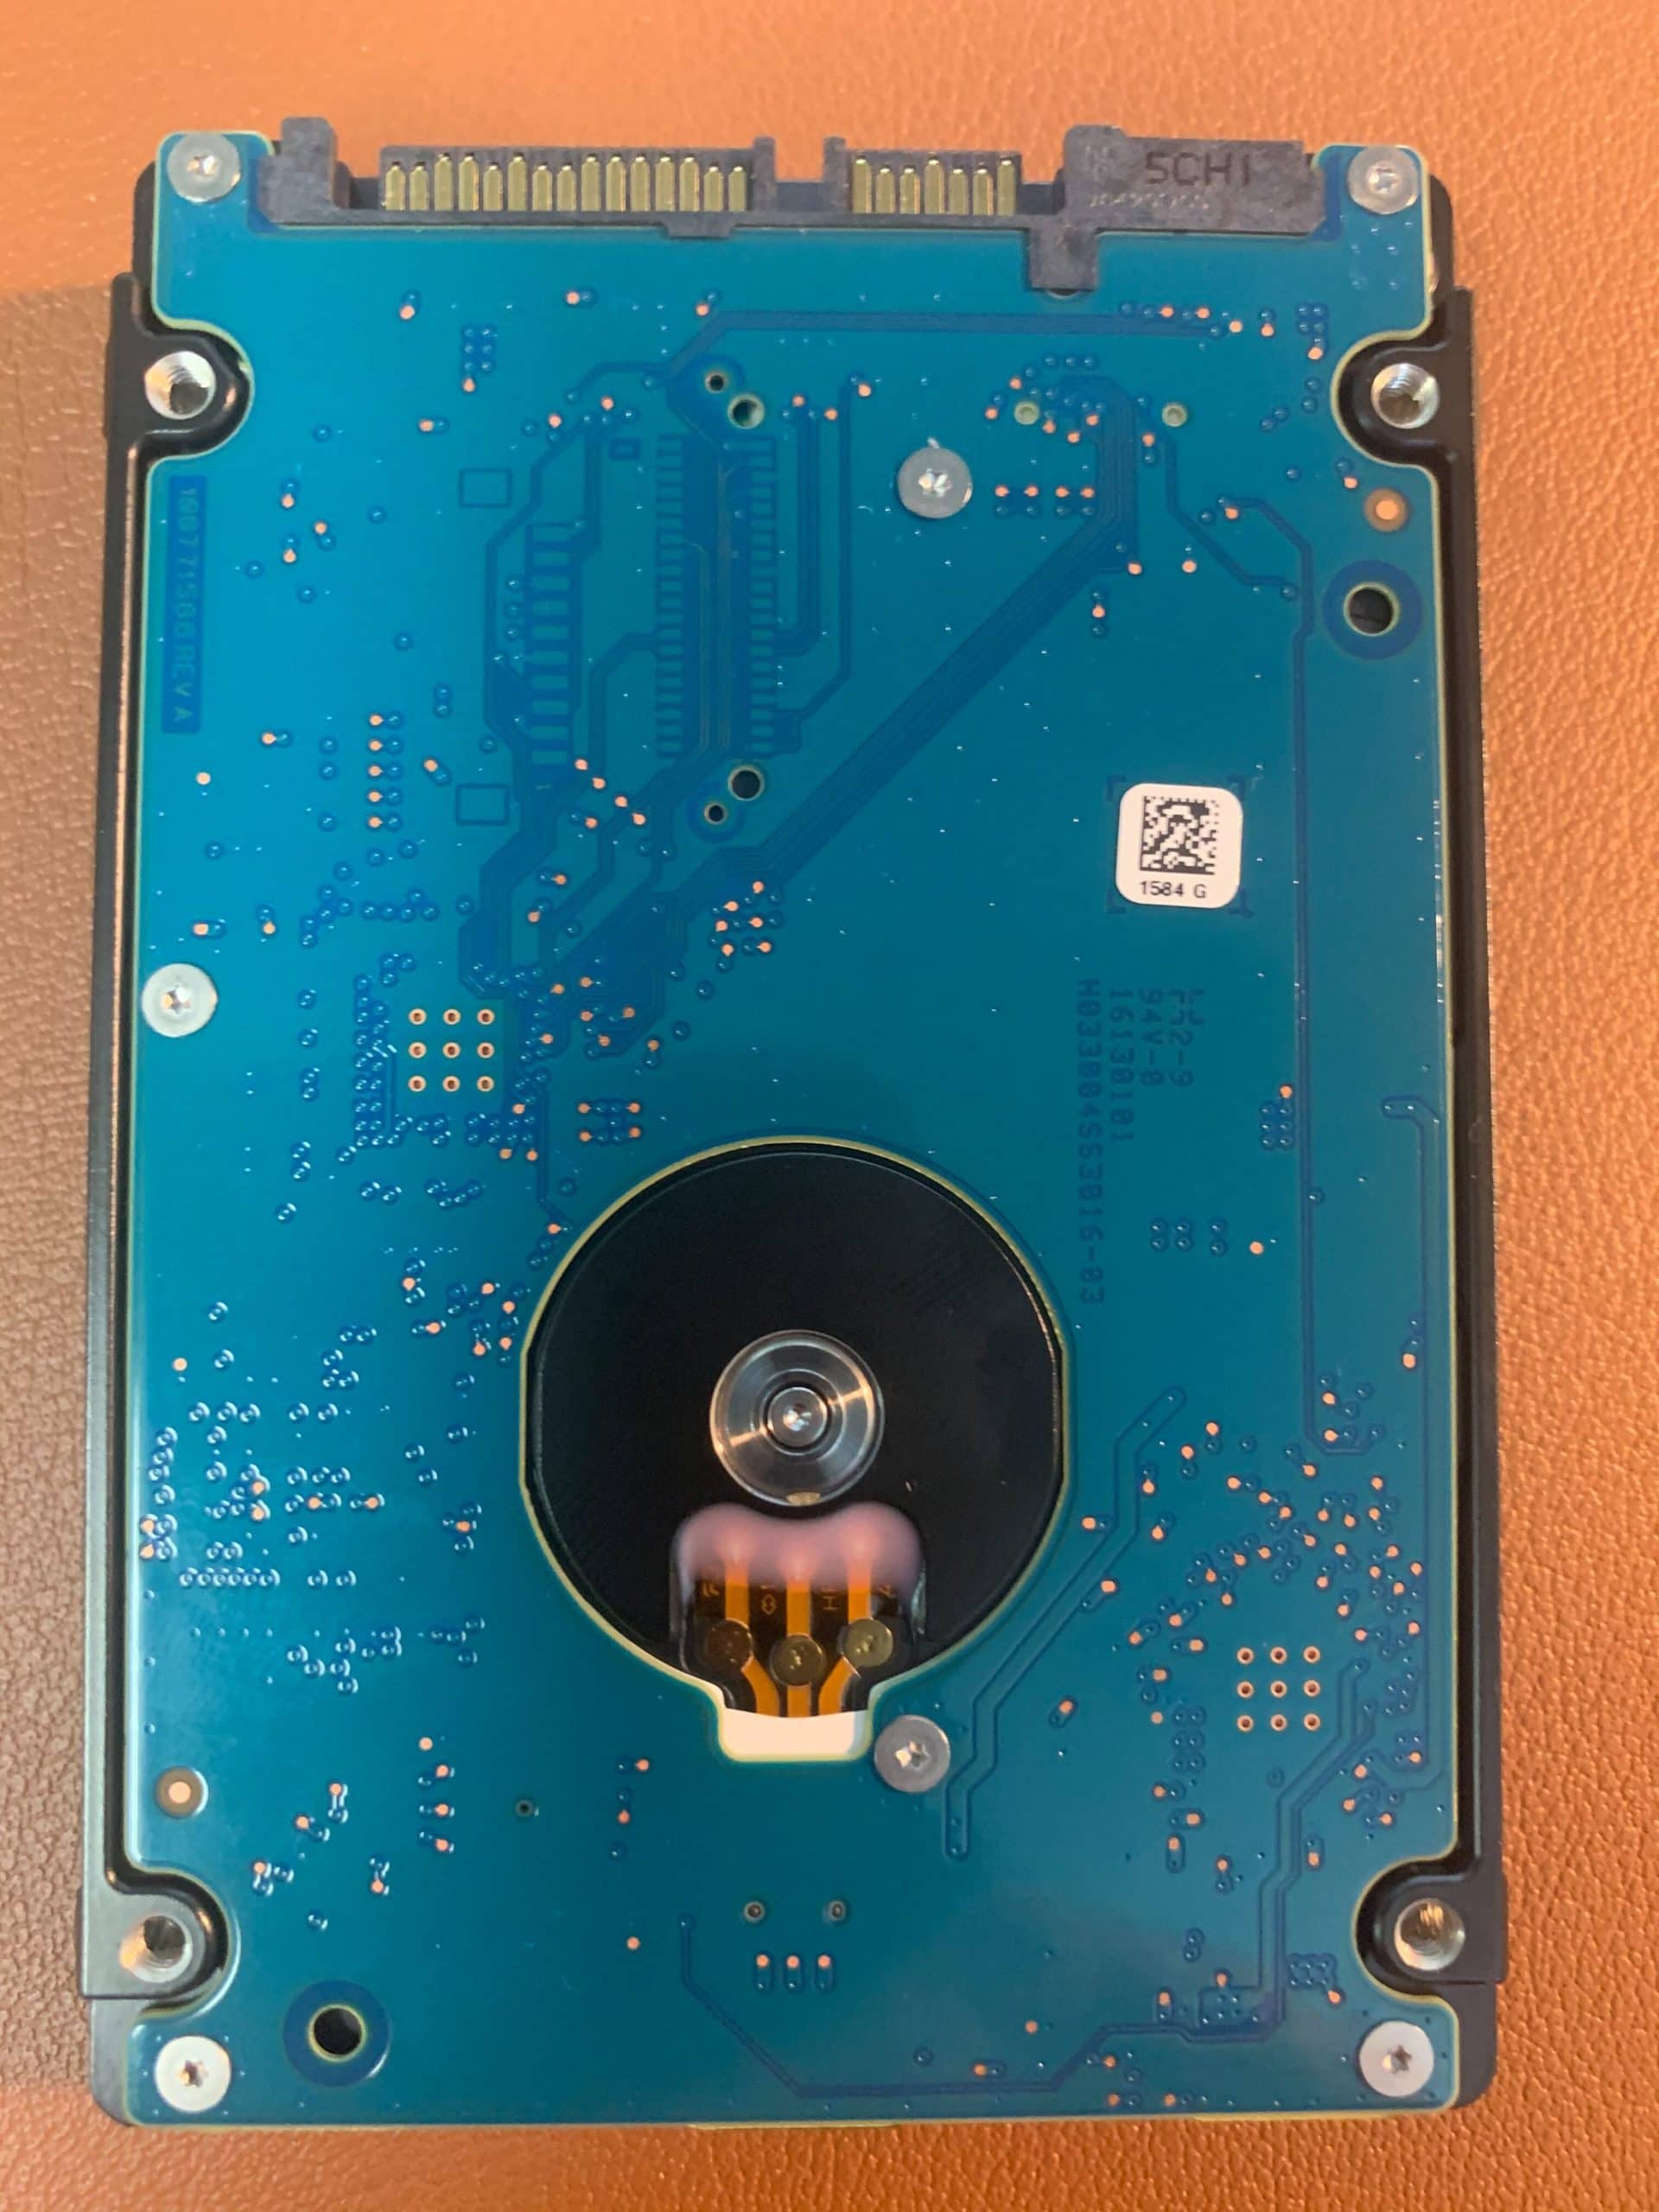
This failed Time Machine backup drive was mailed in from Burbank in Southern California for data recovery. The reported issue was a buzzing sound when you first plug it in for a split second, then another short buzz sound, then another, then silence. The drive would not spin up and would not be recognized by any machine. The client had been using the drive as an archive drive as well as a backup drive, so it was important that the data be recovered.
Recovering A Failed Time Machine
When you are recovering a failed Time Machine backup, it is best if you are able to get 100% of the sectors imaged and then work on getting the image to mount. A mounting Time Machine drive should work to continue using with Time Machine, whereas a drive that you have to recover with data recovery software will have the files present, but you will have to start your Time Machine backups fresh.
Diagnosing the failed Time Machine Backup
The first step is to open the drive in our clean room environment to check the platters for damage as well as check the drive heads. The platters looked good, but the heads were not parked where they should be, which meant they were stuck! Stuck heads on a drive usually do cause a buzzing sound as the motor tries to spin the platters and fails.
Freeing the stuck heads
There are special tools made to safely lift the heads off the platters so you can move them to the parking area. It is important to inspect the heads carefully with a microscope for any damage as well. In this case, I was able to move the heads over to the parking area and found no signs of damage on the heads or platters.
Imaging the Time Machine backup drive
The PC-3000 showed all heads functioning properly, so I continued with the imaging process. I was able to image 100% of the sectors on the drive, so I continued with the data transfer process. It was a 4TB drive, so it took a while to image all those sectors!


Maintaining Time Machine usability during recovery
This drive had a Time Machine backup on it. Apple uses a special kind of linking of files in their backup system, so when you go to recover a failed Time Machine backup drive, you will recover the same file over and over for every backup the computer completed. To get around this you have to use a cloning software like SuperDuper!. SuperDuper! will allow you to transfer all the data over to the new drive including time machine backup data.
There are times when the drive fails and causes corruption in the data about where files are stored and what their names are (often called the catalog file). Often times that corruption will cause programs like SuperDuper! to fail during the cloning process. This was not the case on this drive, but when it does happen there is a method that has worked for me well in the past:
- I start by creating another image of the data. It is always good to have a backup of the recovery when you are going to be doing repair attempts on the data.
- I run whatever software recovery application is best for the situation and recover everything except the Time Machine backup folder (backups.backupd) to a temporary drive.
- I delete all the data on the recovery drive except the Time Machine backup folder. Note I am only doing this after having an additional imaged drive for the recovery so I can easily start over if I need to.
- Once everything is deleted except the Time Machine backup, I run a program called Disk Warrior. Disk Warrior can usually fix the issues with the catalog file and allow me to clone the Time Machine backup folder.
- I clone the Time Machine backup folder using SuperDuper directly to the drive that will be given to the client with all the data.
- I transfer all the recovered data I got earlier from the temporary drive onto the customer drive.
It sounds like a lot of steps, but once you have done it a few thousand times it is super easy! The result is having as much data as possible, as safely as possible.
Failed Time Machine backup 100% Recovered!
Again, with this particular recovery, the data all transferred without an error using SuperDuper! so that process was not needed.
The end result was that 100% of the data on the drive was recovered and mailed back to Burbank to a happy customer!
I would love to help you with your recovery! Please request a quote or contact me and I will answer any questions you have.
Thanks!
Drive info: Seagate 4TB ST4000LM016, PN: 1N2170-567, FW: 0003, Site: WU, DOM: 27May2016, WWN: 5000C5009BAC09AC

1 thought on “Recovering Failed Time Machine Backup – Crisis Averted”